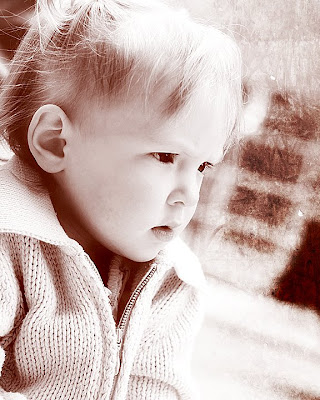
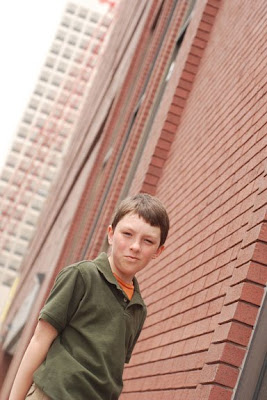
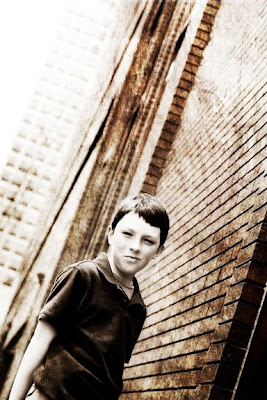
Here is the before and after of Maddie. If you can't figure out which one I added textures to, then I REALLY need to improve...
.jpg)
.jpg)
I've found that adding textures to B/W pics or sepia-toned images works better than full color images.
Here is another example (then I'll get to the "how-to"):
We'll start with the start out of camera (SOOC) shot:
web.jpg)
Here's the same pic after it has been turned into a mono-toned image (Which I like a lot. I should just increase the contrast a little and leave it):
+(BJMblog)web.jpg)
Here is the "textured" image:
+(BJMblog)web.jpg)
Now for the how-to:
1. turn whatever picture you want to use into a mono-toned image (B/W, sepia, whatever)
2. Find a texture file from the web. There are some great and free ones at UrbanDirty.com. Download the JPG file and save it somewhere where you'll remember (like your desktop)
3. Open the texture file in Photoshop (Elements or CS2 or CS3) so that both the image and the texture file are open at the same time (though you can't see them both, just the texture).
4. CTRL-A the texture image so that it is all "selected". Now Edit->Copy the texture. It should now be in your clipboard)
5. Open you original image. Hit Edit->Paste to paste the texture over your image. You will only see the texture file over your image (so you won't see the image).
6. Now over in your layers palette, click on the layers tab, then click where it says "normal". This should bring up a drop-down list. Find "overlay" and click on it. Change the opacity if you like (maybe down to 70% or so).
7. You should now see both images "mixed" with each other. Use your eraser tool and erase the parts on the texture mask that you don't want textured (like faces and other skin parts).
8. This is a little late on the list, but if you don't want the color part of the texture to mess up your image, then "de-saturate" the texture image before your "overlay" it onto the picture your texturing.
9. Flatten, burn, and sharpen.
For some examples of how it should really look check out:
Brianna Graham's image (she is awesome!!!) as well as this one from Brianna (she has a million and they are all good)

1 comment:
wow! thank you very much. i love all the great tips you are sharing. now, i just need to get going on trying them out!
i am excited to get the freebie and get creative.
thanks bro mick! i never knew you would teach me so many great things. ....and i thought your gospel lessons were good! ;)
Post a Comment